Take full control of your WiFi repeater by accessing its login interface. Doing so allows you to tweak settings for better range, speed, and security. This user-friendly guide walks you through the process of accessing the repeater’s dashboard, along with practical tips to ensure a smooth, secure, and error-free experience.
Before You Begin:
Plug in the repeater and power it on. Then follow these instructions in order:
Step 1: Connect Your Computer to the Repeater
You can link your PC to the repeater in two ways:
Wireless Method: Ensure your device connects to the repeater’s WiFi name (SSID), which often includes "_EXT" to differentiate it from the main router.
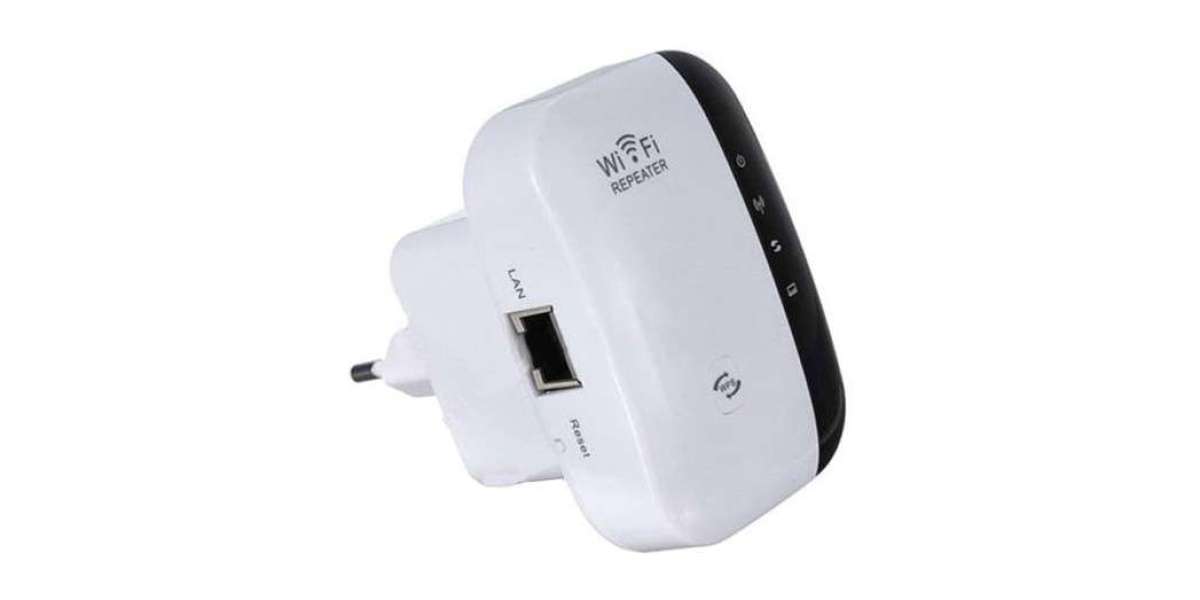
Wired Method: For a more stable setup, use an Ethernet cable to connect the repeater's LAN port to your PC.
Step 2: Open the Repeater’s Login Page
Launch any web browser on your PC.
In the address bar, enter the repeater’s IP address or web URL—these details are typically printed on a label at the back of the device. Press Enter to proceed.
Step 3: Log In and Configure Settings
Once the login page appears, input the default username and password (also found on the device label). After logging in, you’ll land on the configuration panel. From here, you can:
Change the network name (SSID)
Update the WiFi password
Adjust advanced settings as needed
Troubleshooting & Optimization Tips
1. Confirm Connection
Make sure the device is powered on. If you face issues, try forgetting the repeater’s network in your device settings and reconnecting.
2. Ideal Placement
Position the repeater halfway between your router and the weak signal area. Ensure it’s receiving at least 50–70% signal strength. Avoid interference from microwaves, thick walls, cordless phones, or Bluetooth devices.
3. Reboot the Device
Unplug the power adapter, wait 10–15 seconds, and plug it back in. Allow a few minutes for it to reconnect. Alternatively, press the power button twice to restart the device.
4. Use WPS for Quick Setup
If the browser-based setup fails, try connecting via WPS:
Press the WPS button on your main router until the LED blinks.
Do the same on your repeater.
Wait for both devices to automatically sync.
5. Perform a Factory Reset
To reset your repeater:
Make sure it’s powered on.
Use a paperclip or pin to press the reset button (usually recessed).
Hold it for 10 seconds until the lights blink.
Release the button and wait for the repeater to reboot and return to default settings.
Conclusion
This guide covered the essentials for accessing and configuring your WiFi repeater through a PC. With simple troubleshooting and connection tips, you should now be able to enhance your network coverage and avoid common setup issues.
FAQs
Q: Where should I place the repeater once it’s set up?
A: Position it between your main router and the low-signal zone, ensuring it still catches a strong signal from the router.
Q: How do I reset my WiFi repeater?
A: Press and hold the reset button for 10 seconds using a paperclip or pin. Wait for the lights to blink, signaling the reset is in progress.