Fixing Netgear WiFi Extender Connection Problems
Of course, it is frustrating when your Netgear WiFi extender isn't connecting properly, leaving you with spotty coverage. Worry not, we can work through this and find solutions to get you a stable and extended WiFi signal
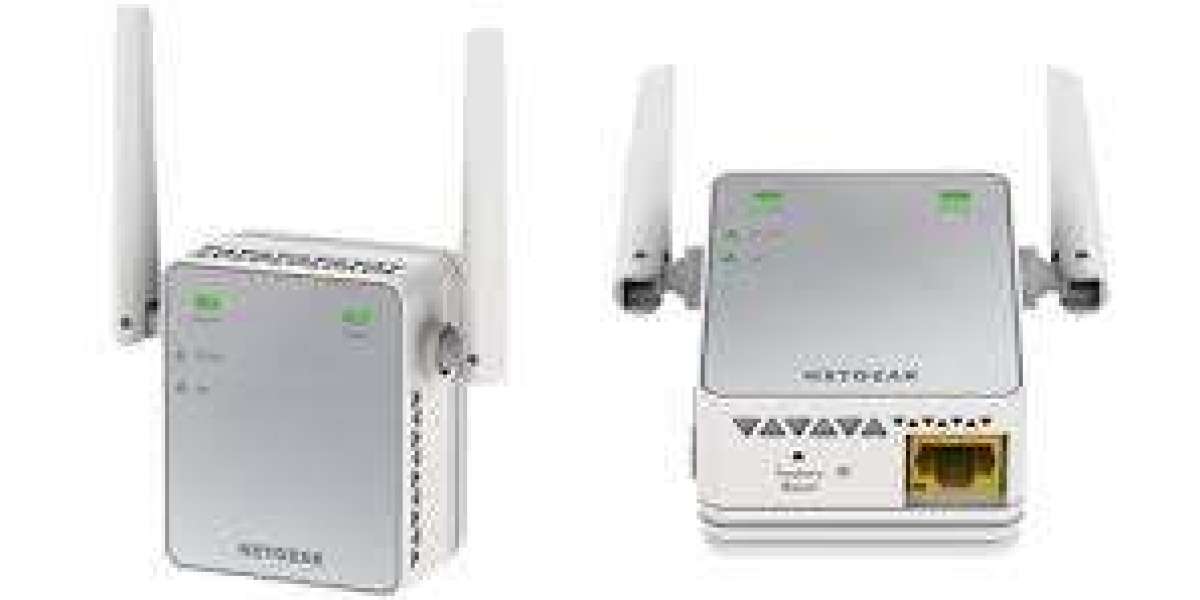
Netgear WiFi Extender Connection Problems
Netgear extender not getting any internet signals from the router
Router and extender connection is not established correctly via WPS
Router and modem are not connected.
The Netgear extender device is not registered to MYNETGEAR portal.
Extender’s Firmware is gone out-of-date.
Netgear wifi extender setup not working
Now, have a look at the solutions to fix all of above-mentioned connection problems one by one given below:
Fixing Extender Connection Issues
Check Extender Cable Connection (If Have Any)
If you have connected your extender with the router via Ethernet cable, examine the cable you have used. It shouldn’t be cut or damaged from anywhere. If it is, replace the cable straight away.
Check Router with Extender Link via WPS
The WPS method of connection links the extender and router without any cable. You should check that the router and extender is connected or not with the help of the extender’s status lights. If the devices are not connected, link them again by using these steps:
Press the WPS button on the extender first.
Then, find and push the same button on the router.
Wait for the extender to show the connection status green.
This means the devices are connected.
Log into Interface and Check What’s Happening
You can access the interface by typing mywifiext.net into a web browser's address bar while connected to the extender's network. If that doesn't work, you can try the extender's IP address 192.168.1.250.
Once you can access the setup page, check all the settings or examine dashboard to find the reasons of connection loss and how to solve it. You might try to reconfigure the connection to your router from the interface to solve the problem.
Update WiFi Extender Manually
Firmware that has gone out-of-date can sometimes cause connection issues. Access the extender's setup page, check for a firmware update and install it if one is available to resolve the issues. To do that, access the interface through mywifiext.net or 192.168.1.250 IP. Then follow these steps:
Go into the settings and select the Firmware tab.
Click Check For Updates or Update.
Once you find the latest update, click Download and Install button.
Reboot WiFi Extender and Router
You have to cut power supply to both your main router and the WiFi extender from the power outlet. Wait about 30 seconds, then plug the router back in and let it fully boot up. Once the router is working, plug the extender back in. this action will restart the devices and refresh the settings and hardware.
Reset Extender Device to Resolve the Issues
Try resetting the extender to its factory default settings which might resolve the issues that you are facing right now. There should be a small reset button on the extender (usually a pinhole). To press to you have to use a paperclip or a similar object to press and hold the reset button for about 7-15 seconds until the LEDs on the extender blink.
After the reset, you'll need to go through the setup process again.
To setup again after a reset, follow these points:
Plug the extender into a power outlet in the same room as your router initially. Power on your NETGEAR device and wait for the LED lights to become stable.
On your computer, open Wi-Fi settings and look for the default Wi-Fi network name (SSID) broadcast by your new NETGEAR device.
The default Wi-Fi password (if any) is often printed on a label on the device. Connect to this network.
Now, after you connects with the extender network, open any web browser.
Type mywifiext.net or default 192.168.1.250 and search it.
The interface login page will appear and ask for a username and password. Default username is: admin, and the default password is: password, that are given on the label of the extender.
Configure your Wi-Fi network name (SSID) and password. Choose a strong and unique password for security here.
Conclusion
Hope, you have read a similar kind of issues and technical errors that you are facing right now. And hopefully, one of above provided solutions helps you to resolve it.
FAQs
Where to Place the Extender for Good Connection?
Optimal location in your house is perfect for your extender. The extender must in the reach of the router and as well as close to the WiFi dead zone.
How to Log into the Nighthawk App for Extender?
Open the app on your phone. Use your MyNetgear account credentials or admin default username and password or Email ID that is registered to the Netgear to access the app dashboard.
How to Make Extender to Router Link via WPS?
Locate the WPS button on both of the devices and press one by one. Wait for the extender signals for the connection on its power LED. If it shows solid green, it means the connection has been established.